


Installing a NEMA 10-30 outlet for EV charging can seem daunting, but it doesn’t have to be. With a little guidance and the right tools, you can set up a reliable charging station at home. This article breaks down everything you need to know about wiring a NEMA 10-30 outlet, from understanding its specifications to ensuring safety during installation. Let’s dive in!
Key Takeaways
- NEMA 10-30 outlets provide 30 amps at 125/250 volts, suitable for EV chargers.
- Use 10 AWG wire for safe and effective power delivery to the outlet.
- Always ensure proper grounding and circuit breaker use for safety.
- Understand the wiring layout to avoid common mistakes during installation.
- Check local codes for compliance and necessary permits before starting.
Understanding NEMA 10-30 Outlet Specifications
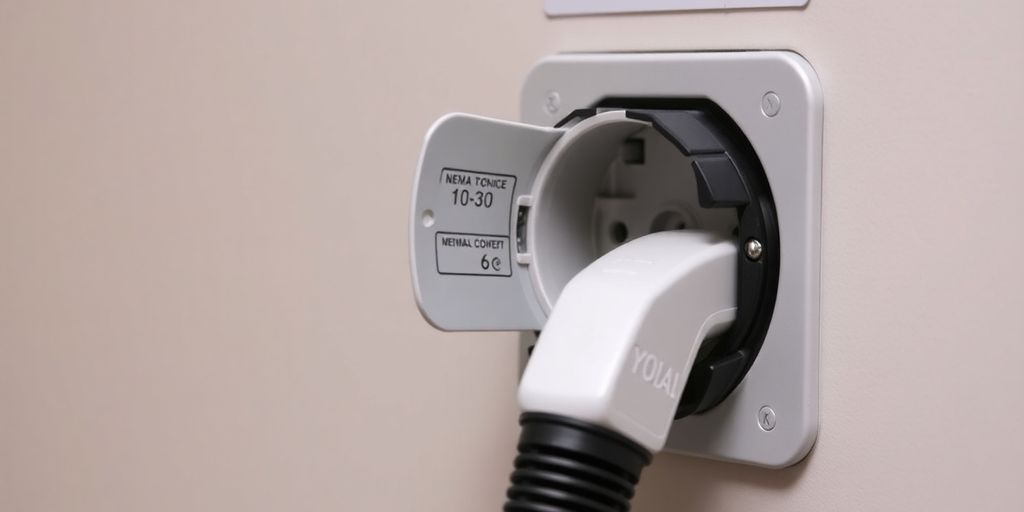
Okay, so you’re thinking about wiring up a NEMA 10-30 outlet for your EV charger. First, let’s get the specs straight. These outlets are a bit older, and they have some quirks you need to know about before you start messing with wires. They’re not as common in new installations anymore, but you might find one in an older home, especially where an old electric dryer used to be.
Voltage and Amperage Ratings
The NEMA 10-30 outlet is designed to deliver 240 volts at 30 amps. This means it can handle a decent amount of power, which is good for charging an EV. However, it’s important to remember that you shouldn’t continuously draw the full 30 amps. A good rule of thumb is to only use 80% of the circuit’s capacity for continuous loads like EV charging. That means you should plan for a maximum continuous draw of 24 amps. Here’s a quick rundown:
- Voltage: 240V
- Maximum Amperage: 30A
- Continuous Load (80%): 24A
Wiring Configuration
This is where things get a little tricky. The NEMA 10-30 is a three-prong outlet. It has two hot wires and a neutral wire, but no dedicated ground wire. This is a key difference from newer outlets like the NEMA 14-30, which do have a ground. The lack of a dedicated ground is one reason why the 10-30 isn’t recommended for new installations. The neutral wire was often used as a combined neutral/ground, which isn’t ideal from a safety perspective. If you’re dealing with a NEMA 10-30, you’ll typically see these wire colors:
- Black: Hot
- Red: Hot
- White: Neutral (potentially carrying ground)
Common Applications
As I mentioned, the NEMA 10-30 was commonly used for older electric dryers. Before the government incentives pushed for safer standards, it was a pretty standard setup. You might also find them used for other high-power appliances like some older electric ranges. However, because of the lack of a dedicated ground, it’s not recommended for new appliances or EV chargers. If you’re installing an EV charger, it’s generally better to upgrade to a NEMA 14-30 or NEMA 14-50 outlet, which includes a dedicated ground wire. Many hotels are upgrading to these safer options to accommodate EV charging. If you’re stuck with a 10-30, you might be able to use an adapter, but make sure your EV charger is compatible and that you understand the safety implications. It’s always best to consult with a qualified electrician before making any changes to your electrical system. You can use a NEMA 10-30 adapter to connect your EV charger.
Essential Tools and Materials for Installation
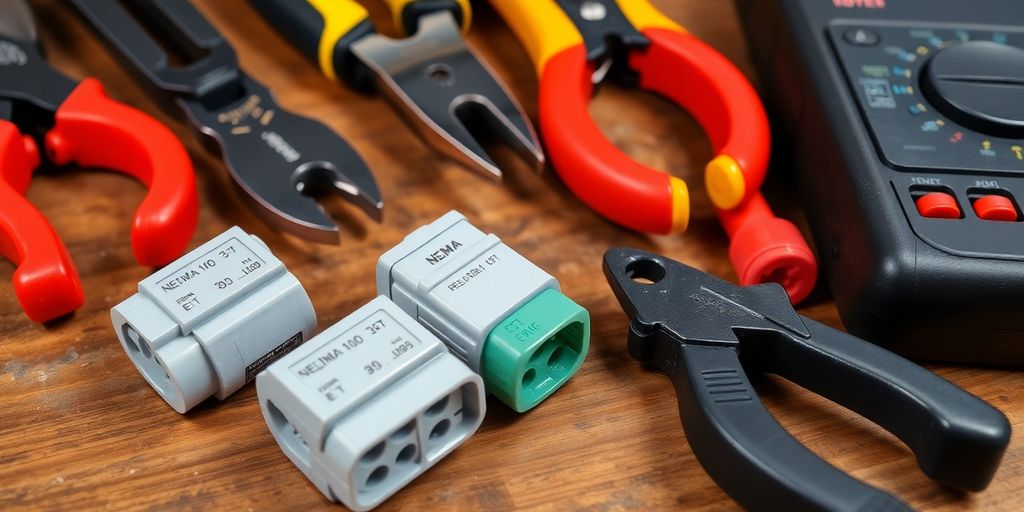
Alright, so you’re ready to wire up that NEMA 10-30 outlet for your EV charger? Awesome! But before you even think about touching a wire, let’s make sure you’ve got all the right tools and materials. Trust me, having everything on hand will make the job way smoother and safer. I learned that the hard way when I tried to install a ceiling fan last year with only half the stuff I needed. What a mess!
Required Tools
Okay, here’s the basic toolkit you’ll need. Don’t skimp on quality here; cheap tools can be dangerous, especially when dealing with electricity. I’ve found that spending a little extra on good tools is worth it in the long run. Plus, they’ll last longer, which is always a bonus.
- Screwdrivers: You’ll need a variety of sizes, both flathead and Phillips head. Insulated handles are a must!
- Wire Strippers/Cutters: Get a good pair that can handle the wire gauge you’ll be using. Trust me, trying to strip wires with a knife is a recipe for disaster.
- Pliers: Needle-nose pliers are great for bending and manipulating wires in tight spaces.
- Voltage Tester: This is non-negotiable. You absolutely need to make sure the power is off before you start working. A non-contact voltage tester is a good option.
- Electrical Tape: For insulating connections.
- Multimeter: For testing voltage and continuity. It’s super useful for troubleshooting.
- Level: To ensure the outlet is installed straight.
- Drill (optional): You might need this to mount the outlet box.
Recommended Wire Types
Choosing the right wire is super important. Using the wrong wire gauge can be a fire hazard, so pay close attention to this. The wire gauge needs to match the amperage of the circuit. Also, make sure the wire is rated for the voltage you’re working with.
- For a 30-amp circuit, you’ll typically need 10-gauge wire. Check your local electrical codes to be sure. I always double-check, just to be safe.
- THHN/THWN wire: This is a common type of wire used for electrical installations. It’s heat-resistant and water-resistant.
- Individual wires in conduit: You’ll need three wires: two hot wires and one neutral wire. Remember, NEMA 10-30 doesn’t use a ground wire, only a neutral.
Safety Equipment
Safety first, always! Electricity is nothing to mess around with. Make sure you have these items before you even think about starting the project. I know it sounds like overkill, but it’s better to be safe than sorry.
- Safety Glasses: Protect your eyes from flying debris.
- Insulated Gloves: These will protect you from electric shock. Make sure they’re rated for the voltage you’re working with.
- Work Boots: Wear sturdy shoes with good traction. No sandals!
- Circuit Breaker Lockout: This prevents someone from accidentally turning the power back on while you’re working. It’s a simple device that can save your life.
Now that you’ve got all your tools and materials, you’re one step closer to getting that EV charger up and running. Just remember to take your time, follow the instructions carefully, and always prioritize safety. You can find EV charging outlets at most hardware stores. Next up, we’ll dive into the actual wiring process.
Step-by-Step Wiring Process for NEMA 10-30

Preparing the Electrical Panel
Alright, first things first, safety! Before you even think about touching anything electrical, kill the power. I mean it. Go to your electrical panel and flip the main breaker to the OFF position. Double-check it. Then, remove the panel cover. You’ll probably need a screwdriver for this. Inside, you’ll see a bunch of wires and breakers. Locate an open slot for a new 30A double-pole breaker – that’s what we’ll be using for the NEMA 10-30 outlet. Make sure the panel has enough capacity for another breaker; if it’s already packed, you might need to call an electrician to upgrade the panel. This is not the place to cut corners.
Connecting the Wires to the Outlet
Now, let’s get those wires connected. You should have three wires: black (hot), red (hot), and white (neutral). The NEMA 10-30 doesn’t use a ground wire, which is important to remember. Connect the black wire to one of the hot terminals on the outlet, and the red wire to the other hot terminal. The white wire goes to the neutral terminal. Make sure the connections are super tight. Loose connections are a fire hazard waiting to happen. Once the wires are securely connected to the outlet, carefully mount the outlet in the electrical box. Don’t just shove it in there; make sure it’s seated properly and the screws are tightened.
Testing the Installation
Okay, deep breaths. Time to see if we messed anything up. Before turning the breaker back on, double-check all your connections. Make sure everything is tight and that no bare wires are exposed. Once you’re satisfied, put the panel cover back on. Now, flip the main breaker back on, then turn on the new 30A breaker you installed. Use a multimeter to test the voltage at the outlet. You should get around 240 volts between the two hot wires (black and red) and around 120 volts between each hot wire and the neutral (white) wire. If you’re not getting the right readings, turn everything off and re-check your wiring. If it all checks out, you’re good to go! You can now use your NEMA 10-30 outlet for EV charging or whatever else you need it for.
Wiring Diagram for NEMA 10-30 Outlet
Understanding the Wiring Layout
Okay, so you’re ready to get into the nitty-gritty of how this thing actually gets wired up. The NEMA 10-30 outlet is a bit of an older design, and it’s important to understand its quirks before you start connecting wires. It’s a 3-prong outlet, but unlike modern outlets, it doesn’t have a dedicated ground wire. Instead, it uses the neutral wire for grounding, which isn’t ideal but was common practice back in the day. This is important for EV charging because you want to make sure everything is safe and up to code.
Identifying Wire Colors
Alright, let’s talk about wire colors. This is super important for getting everything hooked up correctly. Here’s the breakdown:
- Black Wire (Hot): This carries one leg of the 240V power.
- Red Wire (Hot): This carries the other leg of the 240V power.
- White Wire (Neutral/Ground): This acts as both the neutral and the ground. Yes, it’s a bit weird, but that’s how these older outlets are wired.
Make sure you double-check the wire colors before you start connecting anything. It’s easy to get them mixed up, and that can lead to some serious problems. I always take a picture before disconnecting anything, just to be safe. You can use a NEMA 10-30 adapter to make the connections easier.
Branch Circuit Configuration
So, how does this all connect back to your electrical panel? Well, you’ll need a dedicated 30-amp double-pole breaker for this circuit. Here’s how it works:
- The black and red wires (the hot wires) connect to the 30-amp breaker. Each wire goes to one of the poles on the breaker.
- The white wire (neutral/ground) connects to the neutral busbar in your electrical panel. This is usually a silver-colored bar where all the neutral wires come together.
- There is no separate ground wire in this configuration. The neutral wire handles the grounding.
It’s super important to use the correct wire gauge for this circuit. You’ll want to use at least 10 AWG (American Wire Gauge) wire for all the connections. This ensures that the wires can handle the current without overheating. Also, make sure all connections are tight and secure. Loose connections can cause arcing and other problems. If you’re not comfortable working with electrical panels, it’s always best to call a qualified electrician. They can make sure everything is wired up correctly and safely. Electrify America is working to replace EV chargers to improve safety and reliability.
Safety Considerations When Wiring NEMA 10-30
Importance of Circuit Breakers
Circuit breakers are a critical safety component in any electrical circuit, and the NEMA 10-30 is no exception. They protect your wiring and appliances from overloads and short circuits. A properly sized circuit breaker will trip, cutting off the power, if the current exceeds its rating. This prevents overheating, which can lead to fires. Make sure you’re using the correct breaker size for your NEMA 10-30 outlet, typically a 30-amp double-pole breaker. It’s also a good idea to test the breaker periodically to ensure it’s functioning correctly. If you notice a breaker tripping frequently, don’t just keep resetting it; investigate the cause. It could indicate a serious wiring problem or an overloaded circuit. Consider consulting with a qualified electrician to assess your electrical panel and ensure it meets the demands of your EV charger.
Using Proper Wire Gauge
The wire gauge is another crucial safety factor. Using wire that’s too thin for the amperage can cause it to overheat, creating a fire hazard. For a 30-amp NEMA 10-30 outlet, you’ll typically need at least 10 AWG (American Wire Gauge) copper wire. However, it’s always best to consult local electrical codes to confirm the correct gauge for your specific installation. Keep in mind that longer wire runs may require a thicker gauge to compensate for voltage drop. Aluminum wire is an alternative, but it requires a larger gauge than copper to carry the same amount of current, and it’s generally not recommended for this type of application due to potential corrosion issues. Always check the wire gauge to ensure it is appropriate for the load.
Grounding Requirements
NEMA 10-30 outlets are an older standard and do not include a dedicated ground wire. This is a significant safety concern. Modern electrical codes require a grounded outlet for new installations. If you’re installing a NEMA 10-30 outlet, it’s highly recommended to upgrade to a NEMA 14-30 outlet, which includes a ground wire. A ground wire provides a safe path for electricity to flow in the event of a fault, protecting you from electric shock. If you’re using an existing NEMA 10-30 outlet, consider having a qualified electrician evaluate your wiring and determine if it’s possible to add a ground wire. If not, upgrading to a NEMA 14-30 outlet is the safest option. Here are some things to consider:
- Safety First: Always prioritize safety when dealing with electricity.
- Professional Help: If you’re not comfortable working with electrical wiring, hire a qualified electrician.
- Inspect Regularly: Check your wiring and outlets periodically for any signs of damage or wear.
Troubleshooting Common Wiring Issues
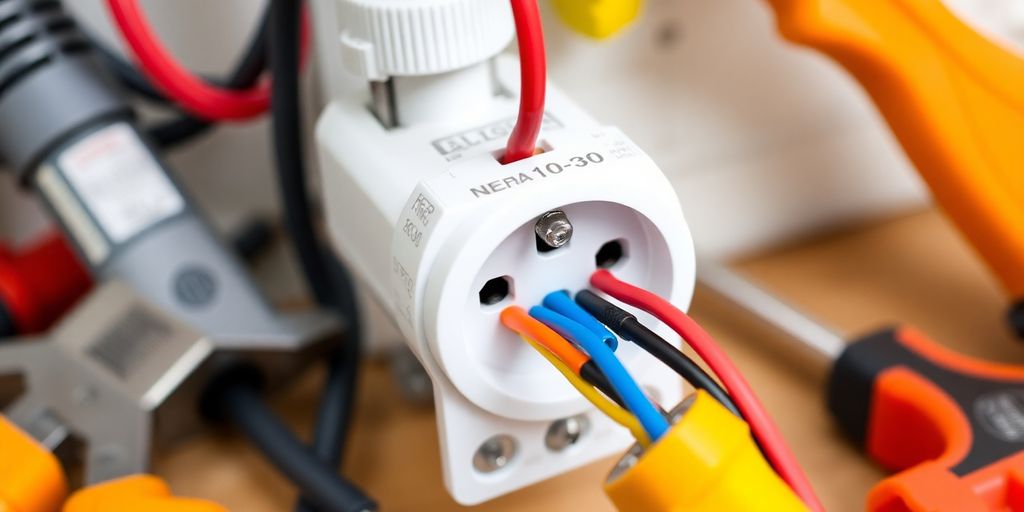
Alright, so you’ve wired up your NEMA 10-30 outlet, and something isn’t quite right? Don’t panic! Electrical work can be tricky, and it’s common to run into snags. Let’s walk through some typical problems and how to tackle them.
Identifying Wiring Errors
First things first, double-check your wiring against the diagram. Seriously, even seasoned electricians make mistakes. Common errors include:
- Incorrect wire connections: Make sure each wire is connected to the correct terminal. Hot wires shouldn’t be on the ground, etc.
- Loose connections: A loose wire can cause arcing and overheating. Give each connection a gentle tug to ensure it’s secure.
- Reversed polarity: This is especially important. Hot and neutral wires need to be in the right spots.
Testing for Voltage
Once you’ve visually inspected the wiring, it’s time to get out your multimeter. But before you do anything, make sure the circuit breaker is OFF. Safety first!
- Turn off the breaker.
- Set your multimeter to the appropriate AC voltage range (usually 250V or higher).
- Carefully test the voltage between the hot wires. You should see around 240V.
- Test between each hot wire and the ground. You should see around 120V.
If you’re not getting the expected readings, something is definitely wrong. It could be a problem with the breaker, the wiring, or even the outlet itself. If you are looking for home charging connectors, there are many options available.
Resolving Connection Problems
Okay, so you’ve identified a problem. Now what? Here are a few common solutions:
- Tighten loose connections: Use a screwdriver to tighten any loose screws on the outlet or in the electrical panel. Make sure you are using the correct screwdriver for the screw type to avoid stripping the screw head.
- Replace faulty outlets: If the outlet is damaged or worn, it’s best to replace it. They’re relatively inexpensive, and it’s not worth risking a fire. When dealing with electrical work, it’s important to understand local regulations.
- Check the circuit breaker: Make sure the breaker is in good working order. If it trips immediately after you turn it on, there may be a short circuit. If the breaker seems faulty, replace it with one of the same amperage rating.
If you’re uncomfortable with any of these steps, or if you’re still having problems, call a qualified electrician. Electricity is not something to mess around with. It’s always better to be safe than sorry!
Compliance with Electrical Codes
Understanding Local Regulations
Okay, so you’re all set to wire up that NEMA 10-30 outlet for your EV charger. Awesome! But hold on a sec. Before you even think about touching those wires, you gotta check your local electrical codes. Seriously, this isn’t something to skip. Electrical codes aren’t just suggestions; they’re the law, and they’re there to keep you (and your house) from going up in smoke. Every city, county, and sometimes even neighborhood can have its own specific rules about electrical work. What’s okay in one place might be a big no-no somewhere else. So, do your homework! Check with your local building department or electrical inspector to get the lowdown on what’s required in your area. It might seem like a pain, but it’s way better than dealing with fines, having to redo the whole job, or, you know, starting a fire.
Permits and Inspections
Alright, you’ve checked the local codes, and now it’s time to talk permits and inspections. In most places, you’ll need to get a permit before you start any electrical work, including installing a NEMA 10-30 outlet. Think of a permit as your official "go-ahead" from the city or county. It basically says, "Hey, I’m planning to do this electrical work, and I promise to do it according to the rules." Getting a permit usually involves submitting a plan of what you’re going to do and paying a fee. Once you’ve finished the job, an electrical inspector will come out to take a look and make sure everything’s up to code. If it passes inspection, you’re good to go! If not, they’ll tell you what needs to be fixed. It might seem like a hassle, but getting the right outlet is a good thing. It’s an extra layer of safety and ensures that your installation is done correctly. Plus, it can save you a lot of headaches down the road if you ever decide to sell your house.
Best Practices for Compliance
So, you want to make sure you’re doing everything by the book, right? Here are some best practices to keep in mind when wiring up your NEMA 10-30 outlet:
- Always use a licensed electrician if you’re not comfortable doing the work yourself. Seriously, electricity is not something to mess around with if you don’t know what you’re doing.
- Double-check all your wiring connections to make sure they’re tight and secure. Loose connections can cause all sorts of problems, including overheating and fires.
- Use the correct wire gauge for the circuit. Undersized wires can overheat and create a fire hazard. Refer to the electrical code or consult with an electrician to determine the appropriate wire size.
- Make sure your circuit breaker is properly sized for the outlet. A 30-amp breaker is typically required for a NEMA 10-30 outlet.
- Use only UL-listed components. UL-listed products have been tested and certified to meet safety standards.
- Follow the manufacturer’s instructions for all the components you’re using. This includes the outlet, the circuit breaker, and the wiring.
- Keep detailed records of all the work you’ve done, including the permit number, inspection dates, and any notes or observations. This can be helpful if you ever need to troubleshoot problems or make changes in the future. And remember, electric school buses also need to adhere to these codes for safe charging!
Wrapping It Up
So, there you have it! Wiring up a NEMA 10-30 outlet for your EV charger isn’t as scary as it sounds. Just remember to follow the steps carefully, and don’t skip on safety. Make sure you have the right tools and materials, and if you’re ever in doubt, it’s totally okay to call in a pro. After all, you want your setup to be safe and efficient. Once you’ve got everything hooked up, you’ll be charging your electric vehicle in no time. Happy charging!
Frequently Asked Questions
What is a NEMA 10-30 outlet used for?
A NEMA 10-30 outlet is often used for electric vehicle (EV) charging and is rated for 30 amps at 125/250 volts. It’s suitable for certain types of EV chargers.
How do I safely wire a NEMA 10-30 outlet?
To wire a NEMA 10-30 outlet, you need to connect two hot wires (black and red) and a neutral wire (white) to the outlet, ensuring you follow safety guidelines and use the correct wire size.
What tools do I need for installation?
You will need tools like a screwdriver, wire stripper, and a voltage tester. It’s also good to have safety gear like gloves and goggles.
Can I use a NEMA 10-30 outlet for other appliances?
Yes, NEMA 10-30 outlets were commonly used for older appliances like dryers, but they can also be used for specific EV chargers that are compatible.
What should I do if my outlet isn’t working?
If your NEMA 10-30 outlet isn’t working, check for any tripped circuit breakers, inspect the wiring connections, and test for voltage with a multimeter.
Do I need a permit to install a NEMA 10-30 outlet?
Yes, it’s important to check local electrical codes, as many areas require a permit for electrical work, including the installation of a NEMA 10-30 outlet.
