


Installing a 240-volt outlet for your electric vehicle (EV) can seem daunting, but with the right information and tools, it’s totally doable. This guide will walk you through everything you need to know, from the prerequisites and safety measures to the actual installation process. Whether you’re looking to charge your EV faster or just want the convenience of home charging, understanding how to wire a 240 volt for EV charging is essential.
Key Takeaways
- Ensure your electrical system can handle the load before installation.
- Check local codes and obtain necessary permits for your outlet.
- Choose a location that’s convenient and safe for charging your EV.
- Follow a step-by-step guide for wiring and testing the outlet.
- Decide between hardwired and plug-in chargers based on your needs.
What Are The Prerequisites For Installing A 240 Volt Outlet?
So, you’re thinking about installing a 240 volt outlet for your electric car? Awesome! But before you jump in, there are a few things you need to check to make sure your home is ready for the upgrade. It’s not as simple as just plugging something in; you need to ensure your electrical system can handle the extra load and that you’re following all the local regulations. Let’s break it down.
Electrical System Requirements
First things first, you gotta check your electrical panel. The big question is whether your panel has enough capacity to handle the additional load from the EV charger. Most homes need at least a 200 amp service panel, but it really depends on what else you’re running in your house. Think about it: if you’re already maxing out your panel with air conditioning, appliances, and other gadgets, adding an EV charger could overload the system. You might need to upgrade your panel, which can be a bit pricey, but it’s essential for safety. It’s a good idea to call an electrician to take a look and give you a professional opinion. They can assess your current setup and tell you exactly what you need.
Permits And Codes
Next up: permits and local building codes. Trust me, you don’t want to skip this step. Depending on where you live, you might need a permit to install a 240 volt outlet. Building codes are there for a reason – to keep things safe and up to standard. Check with your local city or county government to find out what the requirements are in your area. Getting the right permits can save you a lot of headaches down the road, like fines or having to redo the installation. Plus, it ensures that the work is inspected and meets safety standards. Don’t be that person who tries to fly under the radar; it’s just not worth the risk. Make sure you understand the DC charging requirements in your area.
Tools And Materials
Alright, let’s talk tools and materials. You’ll need a few specific things to get the job done right. Here’s a quick rundown:
- A 240 volt outlet (obviously!).
- The right gauge wire. This is super important because using the wrong gauge can be a fire hazard. Check the specs for your EV charger to see what gauge wire is recommended.
- A double-pole circuit breaker. This is what protects the circuit from overloading.
- A conduit and junction box. These help protect the wiring and keep everything safe and tidy.
- Basic tools like a screwdriver, wire stripper, pliers, and a multimeter. A multimeter is essential for testing the outlet to make sure it’s delivering the correct voltage.
Having everything on hand before you start will make the installation process way smoother. There’s nothing worse than getting halfway through a project and realizing you’re missing a crucial part. Also, consider the benefits of preconditioning a Tesla to optimize charging efficiency once your outlet is installed.
Why Do You Need A 240 Volt Outlet For Your Electric Car?
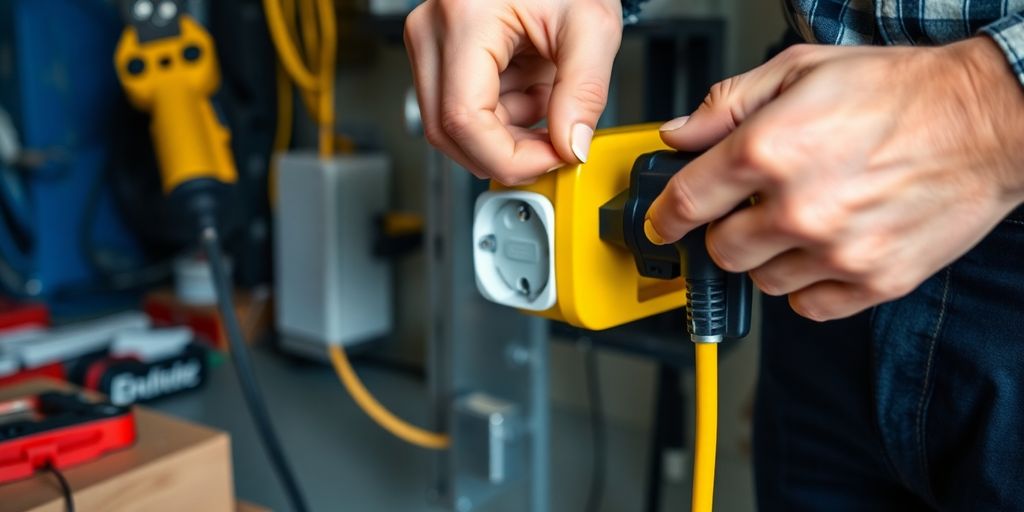
So, you’re thinking about getting a 240 volt outlet installed for your electric car? Good move! It’s a game-changer. Let’s break down why it’s such a worthwhile upgrade.
Reduce Charging Time
Okay, let’s be real: nobody wants to wait forever for their car to charge. A 240 volt outlet, often called a Level 2 charger, dramatically cuts down charging time compared to a standard 120 volt outlet (Level 1). Think of it like this:
| Charging Level | Voltage | Charging Speed (miles per hour) | Example |
|---|---|---|---|
| Level 1 | 120V | 3-5 | Standard wall outlet |
| Level 2 | 240V | 20-30 | Dedicated EV charger outlet |
As you can see, the difference is huge. With a Level 1 charger, you might only get a few miles of range per hour of charging. But with a Level 2 charger, you’re looking at potentially adding 20-30 miles per hour. That means you can fully charge your car overnight, no problem. This is especially important if you have a long commute or frequently take longer trips. Plus, you can find charging stations in national parks if you’re on the road.
Increase Convenience
Imagine this: you get home from work, plug in your EV, and it’s fully charged by morning. No more running to public charging stations or constantly worrying about your battery level. That’s the convenience a 240 volt outlet offers. It’s like having your own personal gas station, but without the fumes or the high prices. Here’s why it’s so convenient:
- Charge overnight: Wake up to a full battery every day.
- Avoid public charging stations: No more waiting in line or dealing with unreliable chargers.
- Top off easily: Add a few miles of range whenever you need to, without a major time commitment.
Improve Efficiency
Beyond just speed and convenience, a 240 volt outlet can actually improve the overall efficiency of your EV charging. Here’s how:
- Less energy loss: Higher voltage charging is generally more efficient, meaning less energy is lost in the process. This can translate to lower electricity bills over time.
- Optimized charging cycles: Faster charging can help optimize your battery’s charging cycles, potentially extending its lifespan. Think of it like filling a glass quickly versus slowly trickling water in – the faster method can sometimes be better for the container.
- Better for the grid: By charging at home during off-peak hours, you can help reduce strain on the electrical grid. Plus, you can explore discussions on electric vehicle charging stations to learn more about efficient charging practices.
Where Should You Install The 240 Volt Outlet?

Okay, so you’re getting ready to install a 240 volt outlet for your EV. Great! But before you start drilling holes, let’s talk about location, location, location. Where you put this thing matters, not just for convenience, but also for safety and efficiency. I mean, you don’t want to be running extension cords across the yard every time you need a charge, right?
Optimal Location
The garage is usually the best spot. Think about it: it’s protected from the elements, relatively secure, and usually close to your car’s parking spot. Ideally, you want to install the outlet on a wall that’s near where you typically park your EV. This minimizes the need for long charging cables, which can be a pain to manage. Plus, shorter cables mean less voltage drop and more efficient charging. If you have multiple parking spots, consider the one you use most often, or maybe even install two outlets if you’re feeling ambitious.
Considerations For Outdoor Installations
No garage? No problem. You can install a 240 volt outlet outdoors, but there are a few extra things to keep in mind. First, weatherproofing is key. You’ll need a NEMA-rated enclosure to protect the outlet from rain, snow, and sun. Think about where the EV charging stations in national parks are located – they have to withstand the elements! Also, consider security. An outdoor outlet is more accessible to, well, anyone. A lockable cover can help prevent unauthorized use or tampering. Finally, make sure the location is well-lit. Fumbling around in the dark with electrical connections is never a good idea. Here’s a quick rundown:
- Weatherproof enclosure (NEMA-rated)
- Lockable cover
- Adequate lighting
- Protection from physical damage (e.g., bollards)
Safety Precautions
No matter where you install the outlet, safety should always be your top priority. Before you even think about touching any wires, turn off the power at the main breaker. Double-check with a non-contact voltage tester to make sure the circuit is dead. Use the correct gauge wire for the amperage of the circuit. Undersized wire can overheat and cause a fire. If you’re not comfortable working with electricity, hire a qualified electrician. It’s better to be safe than sorry. Also, make sure the outlet is properly grounded. A good ground connection can prevent electrical shocks and protect your equipment. Speaking of equipment, always use quality EV charger that are certified and tested. Here are some key safety reminders:
- Turn off the power at the main breaker.
- Double-check the circuit is dead.
- Use the correct gauge wire.
- Ensure proper grounding.
How Do You Install A 240 Volt Outlet For Your Electric Car?
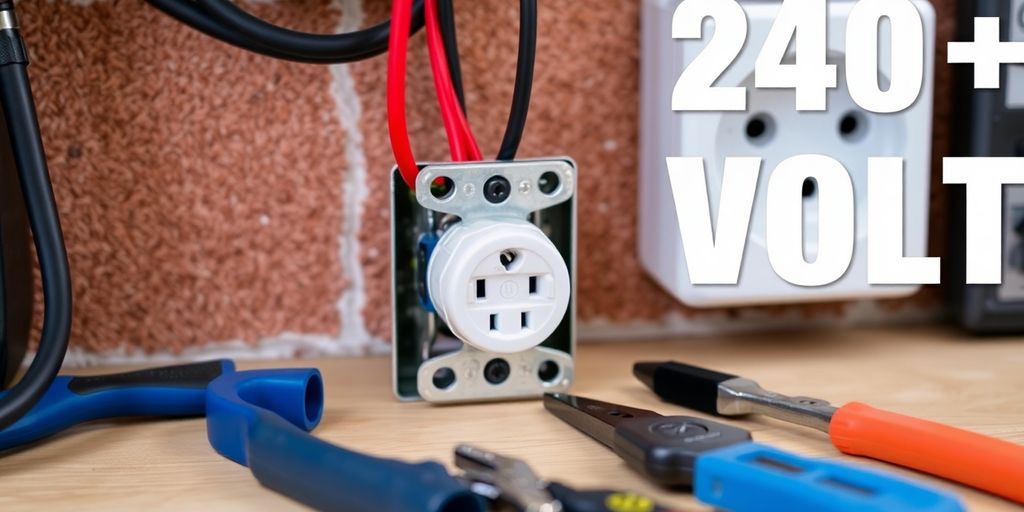
So, you’re ready to install a 240-volt outlet for your EV? Awesome! It’s a game-changer for charging speed. But listen, safety first, alright? This isn’t like plugging in a lamp. If you’re not comfortable with electrical work, seriously consider hiring a pro. It might cost more upfront, but it’s way better than messing something up and risking a fire or, worse, getting hurt. Let’s get into it.
Step-By-Step Installation Guide
Okay, here’s the deal. I’m going to lay out the steps, but remember, this is a general guide. Your specific situation might be different, so always refer to local codes and the manufacturer’s instructions for your equipment. Always turn off the power at the main breaker before starting any electrical work.
- Turn off the power: Seriously, I can’t stress this enough. Go to your breaker box and flip the main switch to the OFF position. Double-check with a non-contact voltage tester to make sure the circuit you’re working on is dead.
- Run the wiring: You’ll need to run the correct gauge wire (usually 6 or 8 AWG, but check your charger’s requirements) from your breaker box to where you want the outlet. Use conduit to protect the wire, especially if it’s running along walls or outside. Secure the conduit properly.
- Install the outlet: Mount the 240-volt outlet in a junction box. Connect the wires according to the outlet’s instructions. Usually, there are two hot wires, a neutral (though some 240V circuits don’t use a neutral), and a ground wire. Make sure the connections are tight!
- Install the breaker: In your breaker box, install a double-pole circuit breaker that matches the amperage of your charger (usually 30, 40, or 50 amps). Connect the wires from the new circuit to the breaker. Again, make sure everything is tight.
- Turn the power back on: Once everything is wired up, carefully turn the main power back on. Then, flip the new breaker to the ON position.
Wiring And Connection
Wiring is where things can get tricky. You absolutely need to know what you’re doing. Here’s a quick rundown, but again, consult a professional if you’re unsure. The EV charging stations need to be wired correctly.
- Wire Gauge: Use the correct gauge wire for the amperage of your circuit. Too thin, and you risk overheating and fire.
- Connections: Make sure all connections are tight. Loose connections can cause arcing and heat.
- Grounding: Grounding is crucial for safety. Make sure the ground wire is properly connected to the outlet, the breaker box, and any metal conduit.
- Polarity: Double-check that you’ve connected the wires to the correct terminals on the outlet and breaker. Reversing the polarity can damage your charger or create a safety hazard.
Testing The Installation
Okay, you’ve wired everything up. Don’t just plug in your car and hope for the best! You need to test the installation to make sure it’s safe and working correctly. Here’s how:
- Voltage Test: Use a multimeter to check the voltage at the outlet. You should see around 240 volts between the two hot wires and 120 volts between each hot wire and the neutral (if your circuit has a neutral).
- Continuity Test: Use a multimeter to check the continuity of the ground wire. This ensures that the ground is properly connected and can provide a path for fault current.
- GFCI Test: If your breaker is a GFCI (Ground Fault Circuit Interrupter) breaker, test it by pressing the test button. The breaker should trip, cutting off the power to the circuit. If it doesn’t, replace the breaker.
- Load Test: If you have a clamp meter, you can perform a load test by measuring the current draw when your car is charging. This can help you identify any potential problems with the circuit or the charger. Remember to check Toyota’s combustion engine technology too, for a broader view of automotive advancements.
Choosing Between Hardwired And Plug-In Chargers
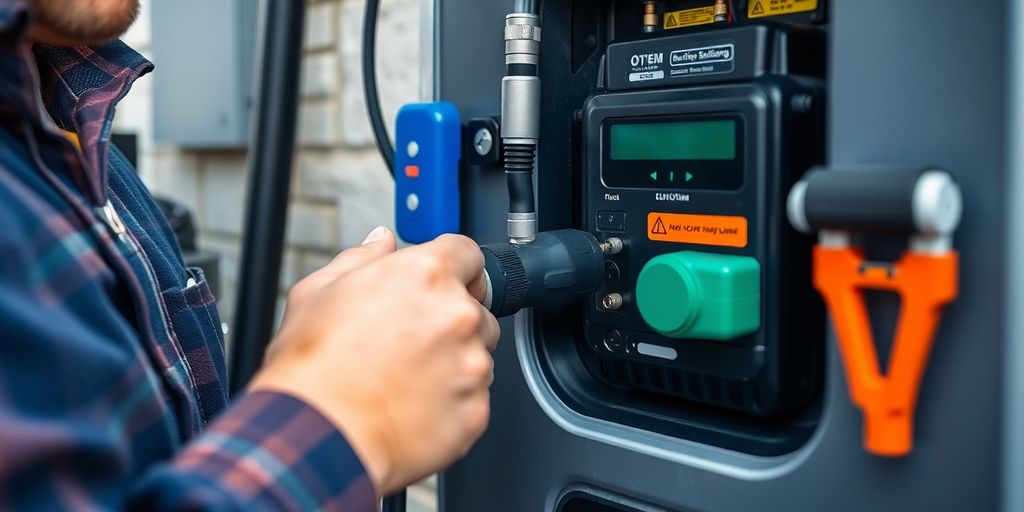
So, you’re getting ready to install a home EV charger. Awesome! One of the big decisions you’ll face is whether to go with a hardwired charger or a plug-in model. Both have their pros and cons, and the best choice really depends on your specific needs and situation. Let’s break it down.
Portability
If you think you might want to move your charger at some point, or if you want to be able to use the outlet for other things (like a welder or other high-power tools), a plug-in charger is the way to go. It gives you the flexibility to unplug and relocate the charger as needed. Hardwired chargers, on the other hand, are permanently installed, so they’re not going anywhere.
Flexibility
A plug-in charger offers more flexibility in terms of swapping out chargers or upgrading in the future. With a hardwired unit, you’re committed to that specific charger unless you want to go through the hassle of rewiring. A 240-volt outlet lets you easily switch to a different charger if your needs change or if new technology comes out.
Nuisance Tripping
This is a sneaky one. Some local electrical codes require GFCI (ground-fault circuit interrupter) breakers for 240-volt outlets. The problem is, many EV chargers also have built-in GFCI protection. When you combine the two, it can sometimes lead to nuisance tripping, where the breaker trips for no apparent reason. This can be a real pain, especially if it happens in the middle of the night and your car doesn’t get fully charged. Hardwired chargers don’t usually have this issue, as they’re not subject to the same GFCI requirements.
Here’s a quick summary:
| Feature | Plug-In Charger | Hardwired Charger |
|---|---|---|
| Portability | Highly portable | Not portable |
| Flexibility | Easy to swap or upgrade | Requires rewiring to change |
| Nuisance Tripping | Possible GFCI issues | Less likely to have GFCI issues |
| Installation Cost | Can be higher if outlet needs to be installed | Potentially lower initial setup costs |
| Safety | Risk of loose connections over time | Eliminates risk of overheating or loose connections |
Final Setup And First Use Of The Charger
Okay, you’ve got the outlet installed, wired, and (hopefully) inspected. Now comes the fun part: actually using your new EV charger! It’s not just plug-and-play; there are a few things to keep in mind to make sure everything goes smoothly. Let’s walk through it.
Activating The Charger
First things first, you’ll need to activate your charger. This usually involves following the manufacturer’s instructions, which might include registering the charger online or through a smartphone app. This step is important for warranty purposes and to access any support services they offer. Don’t skip it! It’s like registering your new TV – boring, but necessary if something goes wrong. You might also need to connect it to your home’s Wi-Fi network if it has smart features. Speaking of smart features, some chargers, like the Lectron V-Box Pro, offer energy monitoring and remote control via smartphone apps.
First Charging Session
Alright, time to plug in! When you start your first charging session, keep a close eye on things. Make sure the charging speed seems right for your vehicle and the charger’s capabilities. Listen for any weird noises coming from the charger or your car. It should be a smooth, quiet process. If something seems off, stop charging immediately and consult the charger’s manual or contact support. Also, if your charger has smart features, now is the time to set them up. This can include scheduling charging times (super useful for off-peak hours and saving money!), monitoring energy usage, and even controlling the charger remotely. Understanding charging times for electric vehicles is crucial for planning your charging needs effectively.
Monitoring Performance
After the first session, keep an eye on how the charger performs over time. Check the charging speed regularly, and make sure there are no error messages or other issues. If your charger has smart features, use them to track your energy consumption and charging costs. This will help you optimize your charging schedule and save money on your electricity bill. If you notice any problems, address them promptly to prevent further damage or safety hazards. Remember, a little maintenance goes a long way in keeping your EV charger running smoothly for years to come. Also, keep in mind that you might be eligible for tax credits for equipment upgrades related to EV charging.
Wrapping It Up
So, there you have it! Wiring a 240-volt outlet for your EV charging isn’t as scary as it sounds. Sure, it takes some planning and a bit of elbow grease, but once you get it done, you’ll be charging your car in no time. Just remember to check your electrical panel, get the right permits, and follow safety guidelines. If you’re not comfortable doing it yourself, don’t hesitate to call in a pro. In the end, having a reliable charging station at home makes life a lot easier, especially if you’re on the go. Happy charging!
Frequently Asked Questions
Can I install a 240-volt outlet for my electric vehicle at home?
Yes, you can install a 240-volt outlet at home for your electric vehicle. This outlet allows for faster charging compared to a standard 120-volt outlet.
What do I need to check before installing a 240-volt outlet?
You need to check your home’s electrical system to make sure it can handle the extra load. Also, check if you need any permits or if there are building codes to follow.
Where is the best place to install a 240-volt outlet?
The best spot is usually in your garage, close to where you park your car. If you don’t have a garage, make sure the outdoor location is safe and protected from the weather.
What tools and materials do I need for the installation?
You’ll need a 240-volt outlet, appropriate wiring, a circuit breaker, a junction box, and tools like a screwdriver and wire stripper.
How do I test if my 240-volt outlet is working properly?
After installation, turn the power back on and use a multimeter to check if the outlet is delivering the correct voltage.
What is the difference between a hardwired charger and a plug-in charger?
A hardwired charger is connected directly to your home’s electrical system, while a plug-in charger can be easily moved and used with different outlets.
